User Web Interface
This guide provides a comprehensive tour of the AI Controller web interface from a user's perspective, showing you how to navigate the interface, manage your API keys, customize your experience, interact with AI providers, and monitor system activity.
Tour the user view of the web UI
The AI Controller web interface offers a variety of features and options to help you make the most of your AI integration. Let's explore each aspect of the interface to understand how they work together.
Appearance Settings: Dark/Light Mode
AI Controller's interface can be toggled between dark and light modes to suit your visual preferences or working environment.
To switch between dark and light modes:
- Click the moon/sun icon at the top of the vertical header next to the profile drawer.
- The interface will immediately switch to your preferred mode.
 Dark Mode: Offers a sleek, low-contrast look that's easier on the eyes, especially in low-light environments.
 Light Mode: Provides high contrast and visibility, which may be preferred in brightly lit environments.
Account Settings
Your account settings provide personal configuration options and information about your user profile.
To access Account Settings:
- Click on your initials or profile icon in the top right corner of the interface.
- This opens a dropdown with your account information and options.
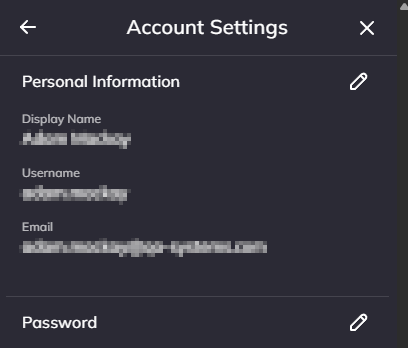
Screenshot: Account settings showing personal information including display name, username, and email address.
The Account Settings screen displays:
- Personal Information: Your display name, username, and registered email address
- Edit Options: Click the pencil icon
 to modify your profile information
 - Password: Click the pencil icon next to Password to change your current password
- Close Button: To return to the main interface after reviewing your settings
These settings allow you to maintain your personal information and ensure your account details remain up-to-date.
Note: If you have forgotten your password, administrator users can reset it for you. Contact your system administrator for assistance. For more information on user management, administrators can refer to the User Management Guide.
Navigation Menu
The main navigation menu on the left sidebar provides access to the primary features of the AI Controller:
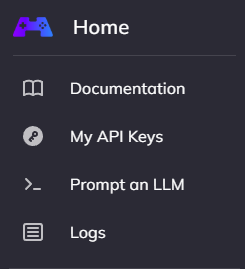
Screenshot: The navigation sidebar showing the main menu options.
Key menu items include:
- Home: Return to the main page
- Documentation: Access comprehensive system documentation
- My API Keys: Manage your personal API keys
- Prompt an LLM: Test language models directly through the interface
- Logs: View system activity logs and cached responses
This navigation structure provides quick access to essential features while maintaining a clean, uncluttered interface.
My API Keys
The API Keys section allows you to create, manage, and monitor your personal API keys that applications use to authenticate with AI Controller.
Accessing API Keys Management
Navigate to My API Keys in the sidebar to access your personal key management interface. The page displays your existing keys and provides options to create new ones.
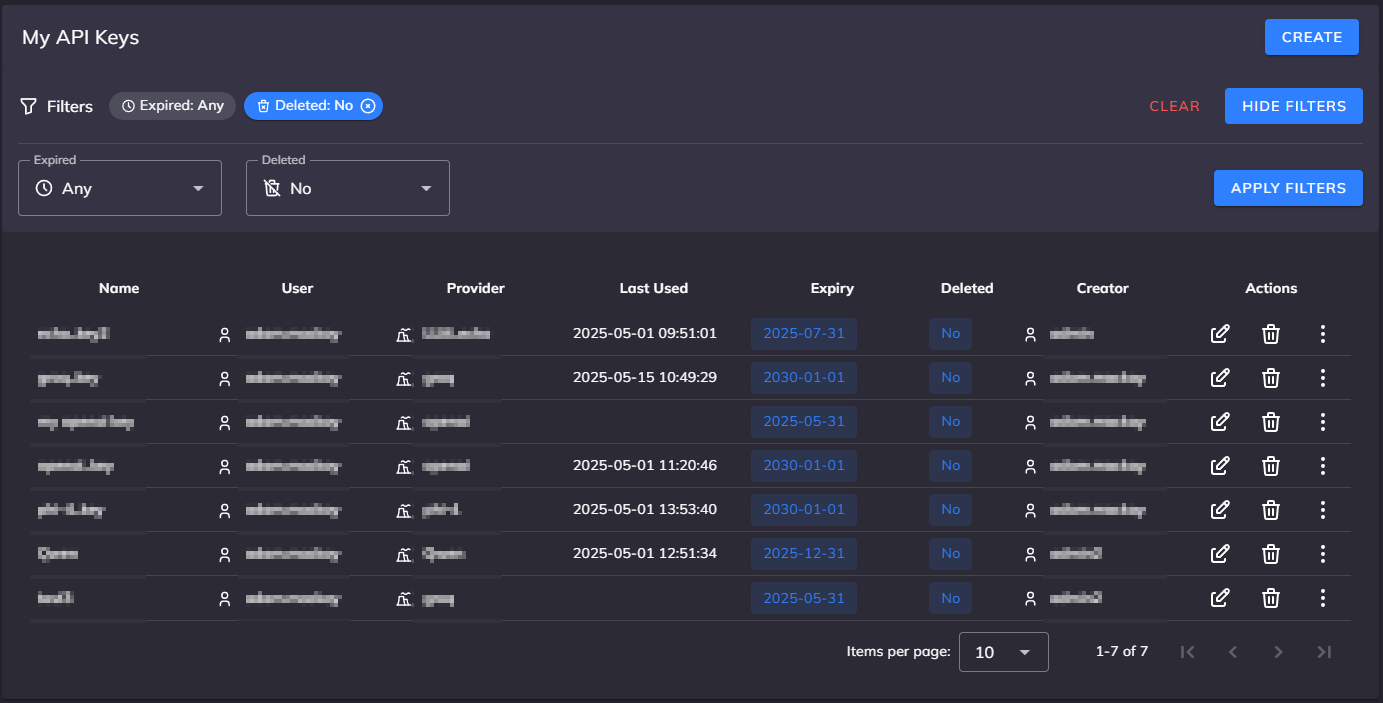
Screenshot: Shows the API Keys management interface with existing keys and their details.
The API Keys table includes important information for each key:
- Name: A descriptive identifier for the key
- User: Your username (as the key owner)
- Provider: The associated LLM service provider
- Last Used: Timestamp of the most recent activity
- Expiry: The date when the key will automatically expire
- Deleted: Indicates whether the key has been manually deleted
- Creator: Who created the key (you or an administrator)
- Actions: Buttons to edit, delete, or perform other actions on the key
Creating a New API Key
To create a new API key:
- Click the CREATE button at the top right of the API Keys page.
- Complete the form with the required details:
- Name: Enter a descriptive name (e.g., "Development Key" or "Testing OpenAI")
- Provider: Select which LLM provider this key will use
- Expiry: Choose an appropriate expiration date (recommended: 30-90 days)
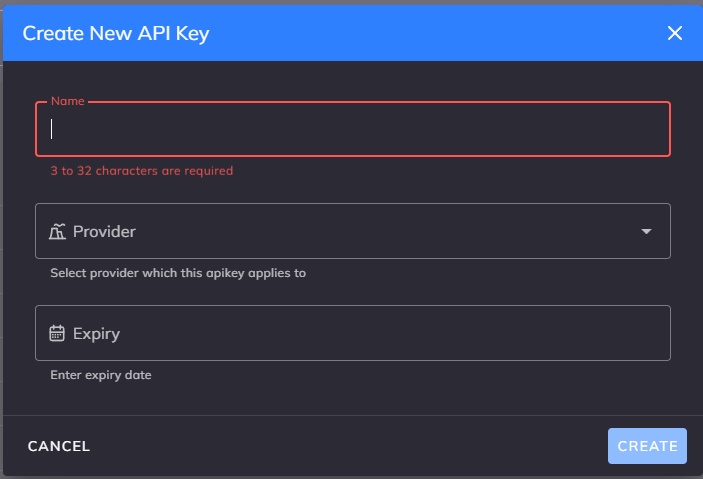
Screenshot: The dialog for creating a new API key with fields for name, provider, and expiry.
- Click "CREATE" to generate your new key.
- When the key is displayed, copy and store it securely immediately, as it cannot be retrieved later.
Managing Existing Keys
You can modify certain aspects of your existing keys:
- Edit: Click the pencil icon to update the key's name or other editable properties.
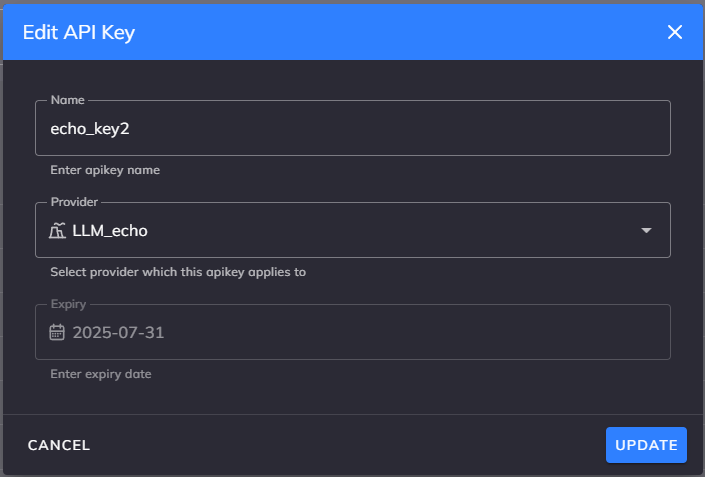
Screenshot: Dialog for editing an existing API key's properties.
- Delete: Click the trash icon to permanently deactivate a key.
- View Details: Click the ellipsis (...) menu for additional options.
Important: When a key is deleted, any applications using it will immediately lose access to AI Controller. Be sure to update your applications with the new key before deleting an old one.
For more detailed information on API key management best practices, please refer to the API Key Management guide.
Prompt an LLM
The "Prompt an LLM" feature provides an intuitive interface for sending messages to large language models, test configurations, and explore AI capabilities without writing code.
Accessing the Prompt Interface
Navigate to Prompt an LLM in the sidebar to access the interface. The interface is divided into three main areas: Configuration section, Main conversation and Conversations management
Screenshot: The Prompt an LLM interface showing the configuration section, main conversation and conversations management.
Using the Prompt Interface
-
Configure your request:
- Choose a Client: Select which provider (e.g., OpenAI, Anthropic) to use.
- Select a Model: Choose the specific model (e.g., GPT-4, Claude) from the dropdown.
 : Choose whether to interact with the LLM using 'standard' or 'streaming' type interaction
-
Enter your prompt:
- Type your question or instruction in the input area.
- Press Shift + Enter to insert a new line without submitting your prompt.
- Click the blue send button
 or press 'Enter' to submit.
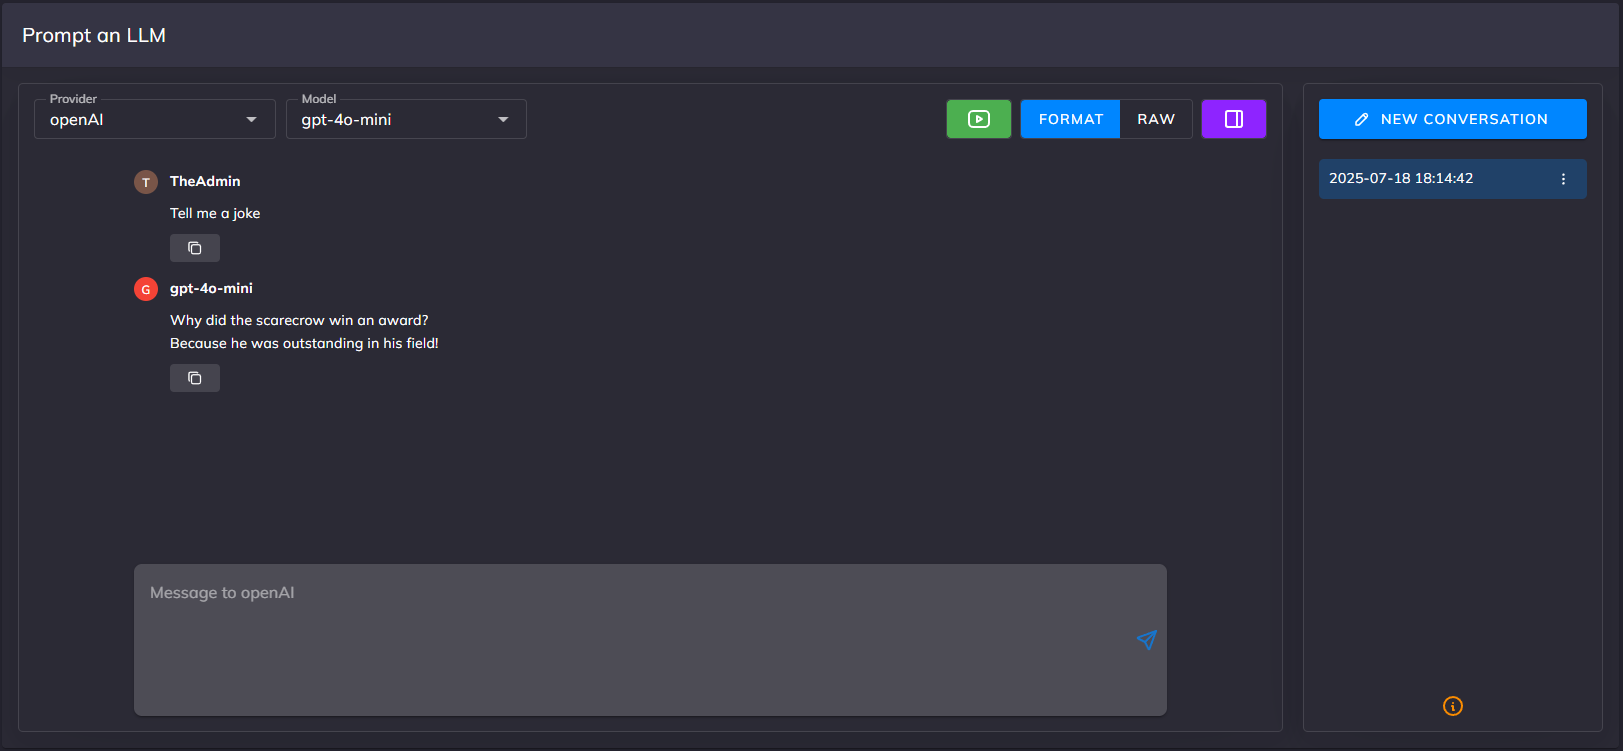
-
View the response:
- Once submitted, the prompt and response will appear in the chat area:
- User messages are shown with the user's name (e.g., TheAdmin) and a copy button.
- Model responses include the selected model name (e.g., gpt-4o-mini) and are styled distinctly for clarity.
- Click the copy icon below any message to quickly copy its content to the clipboard.
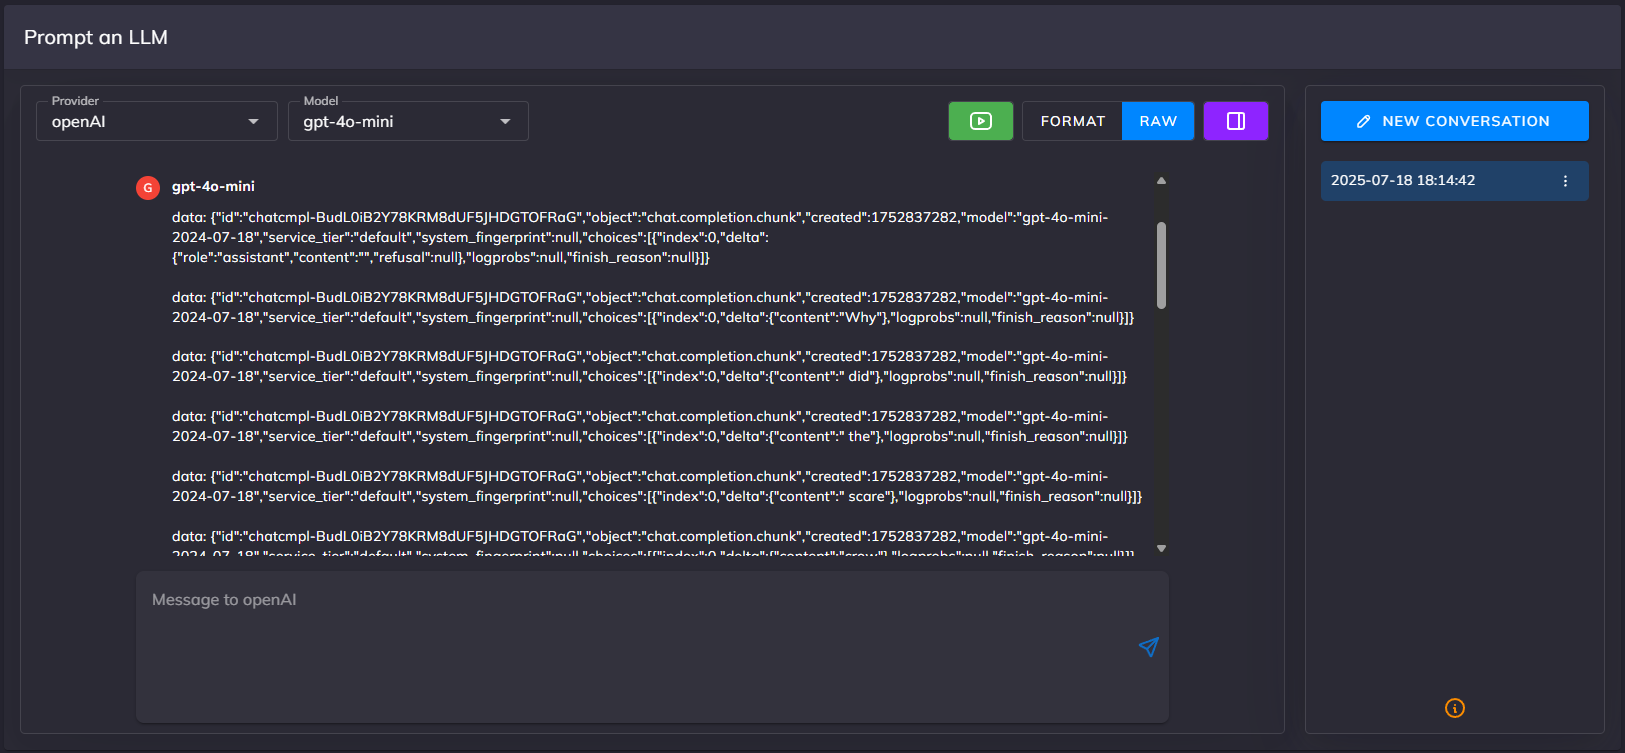
- If streaming mode is enabled, the model response will display progressively as it's received.
- If the request fails, an error message will be shown with appropriate styling and context.
 : Toggle between 'Format' and 'Raw' to control how the model’s response is displayed
- On the right sidebar, a new conversation entry is created automatically the first time you submit a message. The conversation is named using the current timestamp by default (e.g., 2025-07-18 18:14:42).
- Click the three-dot menu on a conversation to access options such as:
- Rename the conversation
- Remove the conversation
- Download the full conversation history
- This sidebar will also display a list of previous conversations, allowing you to revisit and manage past sessions easily.
Screenshot: The Prompt an LLM interface showing the configuration section, main conversation and conversations management.
- Once submitted, the prompt and response will appear in the chat area:
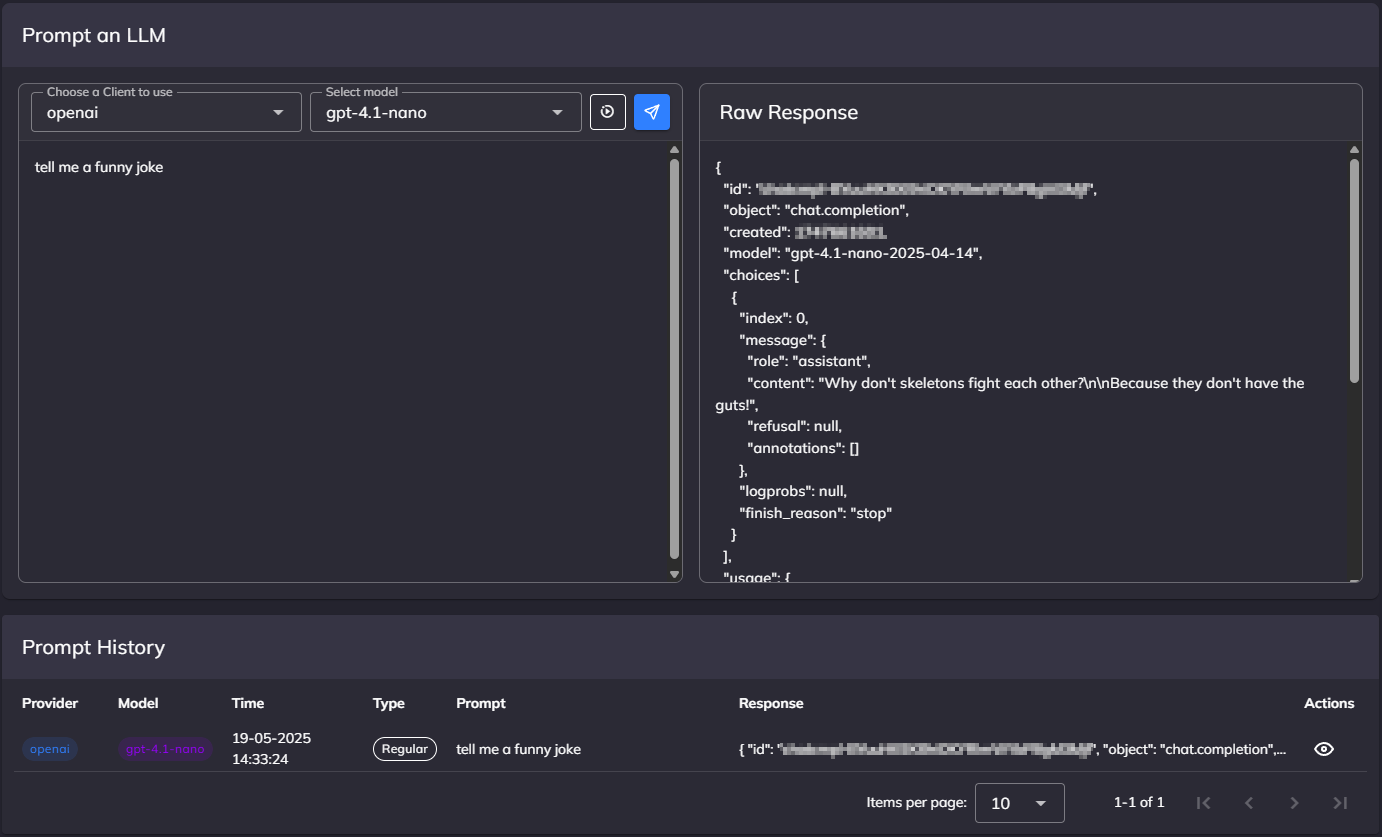
Examining Response Details
For more technical users, the system provides access to the raw JSON response:
-
Click
 in the configuration section to view the raw response.
 -
Review the complete response data including metadata.
Screenshot: Detailed view of the raw response including model information, timestamps, and full content.
- Click
 in the configuration section to collapse the right sidebar and gain more space for the conversation view.
This feature is particularly useful for:
- Testing your API key configurations
- Comparing responses between different models
- Refining prompts before implementing them in your applications
- Demonstrating AI capabilities to stakeholders
For more information on effective prompting techniques and model capabilities, refer to the Prompt an LLM feature documentation.
Managing Logs
The Logs page provides access to system activity records stored in the MySQL database. It's important to note that these logs are distinct from the AI Controller server logs or console output - they specifically show database-recorded activities. You can view detailed information about requests, authentication events, administrative actions, and provider interactions. The interface is accessible to all authenticated users, with different permission levels:
- Users: Can only view log entries related to their own activities
- Administrators: Can view all log entries in the system
This tiered access allows for both personal troubleshooting and comprehensive system monitoring.
Accessing the Logs Interface
Navigate to Logs in the sidebar to access the logging interface. The page displays a searchable table with filters to help you find specific log entries. Remember that users will only see their own log entries, while administrators will see all entries in the system.

Screenshot: Shows the logs view with filters, search box, and detailed log entries
Accessing Settings for Logs and Cache
Both the Logs and Cache interfaces include a settings button that allows you to configure various aspects of each system. The settings panel can be accessed by clicking the gear icon in the upper right corner of either screen:
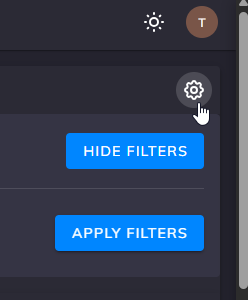
Screenshot: How to open the settings dialog for both log and cache screens
Log Settings
The logs interface includes configurable settings that help you customize your view and manage the log data. For detailed information on server-side log configuration options, please refer to the Server Configuration Guide. These settings can be helpful to simplify the displayed JSON data for each Log entry, making it easier to see the desired information.
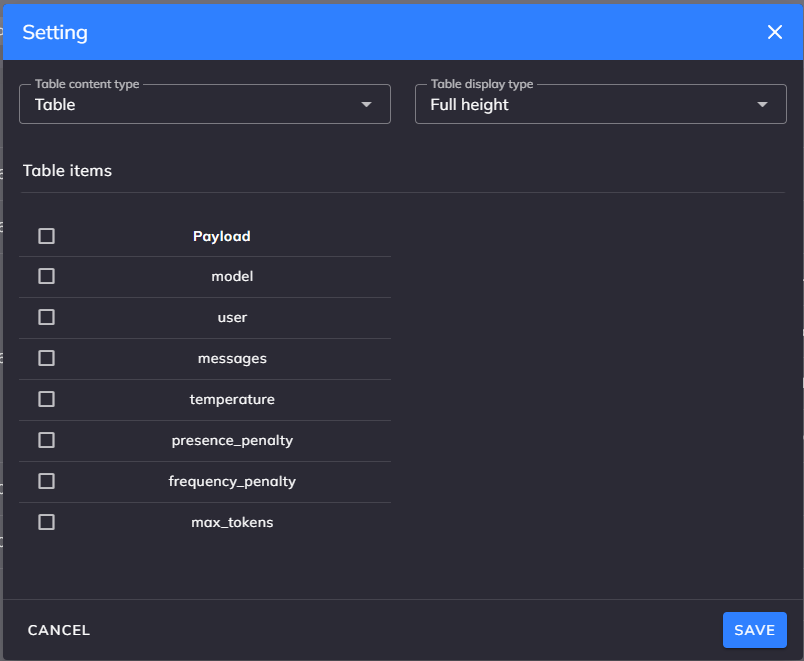
Screenshot: Configurable settings for the logs view
Understanding the Log Interface
The logs page displays entries in chronological order with filtering options:
- Time range: Filter by start and end dates
- User: Focus on specific user activity (this filter is only available for Administrators)
- Search: Find entries containing specific text
Log Table Fields
The Logs table includes the following columns:
- Time - The time and date the log entry was created
- Entry Source - The specific entity that created the entry. Only set for LLM Work Requests, and will be one of 'Worker' or 'Cache'
- Worker - This is set when the Log entry was created as a result of Work being sent to an LLM using an AI Controller Provider
- Cache - This is set when the Log entry was created as a result of a Work Request being fulfilled by the AI Controller Cache
- Message - The logged message. Will be empty if 'Entry Source' is 'Worker' or 'Cache'
- Payload - The payload sent in the Work Request. Will be empty if 'Entry Source' is 'Not Set'
- Username - The username of the User that created the log entry (displayed for easy identification).
Types of Log Entries
AI Controller captures several types of log information:
-
Request Logs: Each LLM request generates a detailed log entry containing timestamp, username, correlation ID for tracking, and the complete request payload.
-
Authentication Events: Security-related events that track API key usage, user logins, and access control decisions. These logs support security auditing and compliance requirements.
Alternative Access Methods
While the web interface provides the most convenient access, you can also retrieve logs through other methods based on your needs.
API Access
The AI Controller API provides programmatic access to logs. For detailed information on endpoints, parameters, and response formats, please refer to the API documentation.
Example response from the logs API (JSON format):
{
"Id": 590,
"CorrelationId": "d823cd75-58b5-44c6-9cf9-54545f081009",
"TimeStamp": "2025-05-01 12:53:41",
"UserId": 2,
"EntryType": 3,
"EntrySource": 3,
"Message": "",
"Payload": "{\"model\": \"phi-4-Q4_K_M.gguf\", \"user\": \"xxxxxxxxx\", \"messages\": [...]}"
}
Managing Cache
The Cache page provides access to the AI Controller's cache system, which is stored in the MySQL database. Like the Logs page, the Cache interface displays only database-recorded entries and not information from the AI Controller server log or console. The cache stores LLM responses to improve performance and reduce costs by reusing responses for identical requests. This feature is particularly useful in environments where the same prompts are frequently used.
Accessing the Cache Interface
Navigate to Logs in the sidebar, and select the 'Cache' tab to access the cache management interface. The page displays a searchable table with filters to help you find specific cached entries.
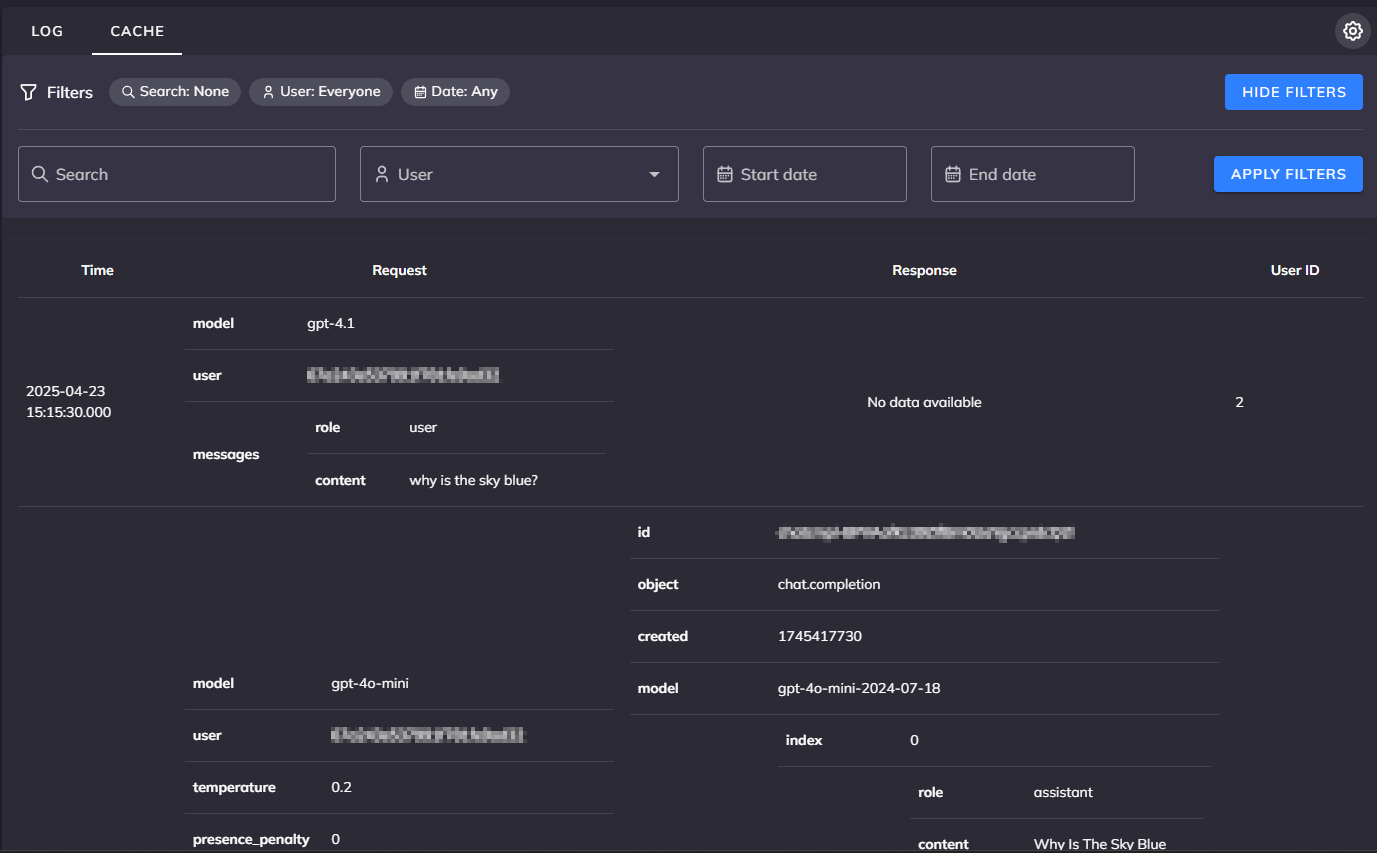
Screenshot: Shows the cache view with filters, search box, and cached entries
Cache Settings
The Cache interface includes several configurable settings that help you manage how the system stores and retrieves cached responses:
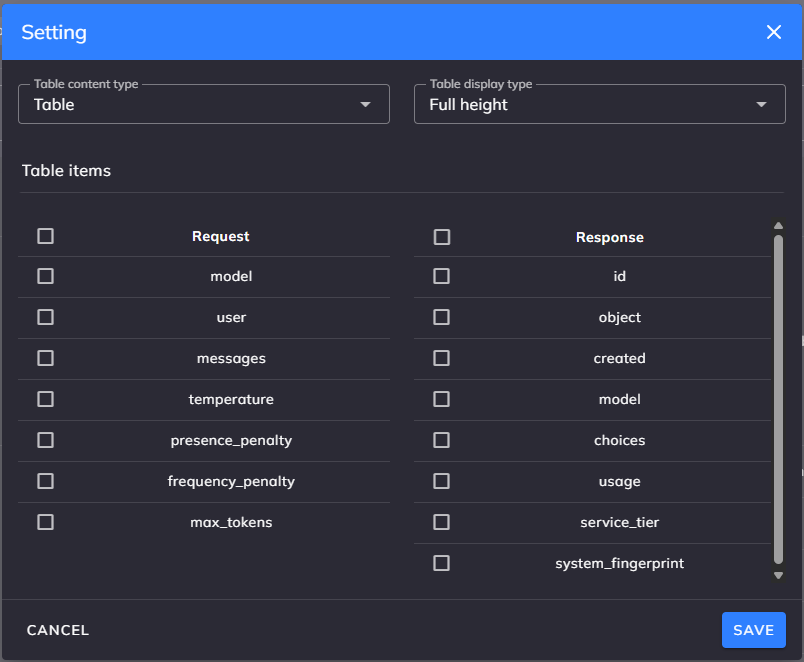
Screenshot: Configurable settings for the cache system
Understanding Cache Functionality
The cache system works by:
- Storage: When a request is made to an LLM, both the request and response are stored in the cache
- Lookup: For subsequent requests, the system checks if an identical request exists in the cache
- Retrieval: If found, the cached response is returned instead of making a new LLM call
Cache Benefits
Using the AI Controller cache provides several advantages:
- Cost Reduction: Minimize API calls to paid LLM services
- Improved Response Time: Cached responses are returned much faster than new API calls
- Consistent Responses: Ensure the same prompt always receives the same response
- Reduced Load: Decrease the burden on both the AI Controller and external LLM providers
Cache Management
The cache system stores responses from LLM providers and serves them when identical requests are made again. This improves response times and reduces costs associated with repeated queries.
Common Troubleshooting Scenarios
When troubleshooting issues with AI Controller, the Logs and Cache interfaces provide valuable diagnostic information:
-
Performance Issues: Filter logs by time range when issues occurred, look for patterns in response times, and check for resource errors or cache hits/misses.
-
Authentication Problems: Search logs for the specific user or API key in question and review authentication failure messages.
-
Integration Challenges: Use correlation IDs to track specific requests across the system and check for provider-specific errors in the logs.
For effective analysis:
- Start with broad time ranges, then narrow down to the specific time period
- Use multiple filters to isolate specific issues
- Check both logs and cache entries to get a complete picture of request flow
Data Retention Considerations
Note: While AI Controller automatically backs up log files when they reach a threshold size, it does not automatically remove old log files, nor does it clean up old entries from the database Log and RRCache tables. Consideration should be given to the desired retention policies for these data, and implemented separately.
Getting the Most from the Web UI
Here are some tips for maximizing your productivity with the AI Controller web interface:
-
Use filtering effectively: The logs and cache views can contain many entries. Use the search and filter tools to zero in on relevant information.
-
Monitor your API keys: Regularly check the Last Used column in the API Keys page to identify unused or potentially compromised keys.
-
Test before deployment: Use the Prompt an LLM feature to validate your prompts and model selections before implementing them in production applications.
-
Choose appropriate key expiration dates: Select expiration dates that balance security with convenience—shorter for development keys, longer for stable production systems.
-
Compare model outputs: Use the Prompt an LLM feature with different models to find the best fit for your specific use case.
The AI Controller web UI is designed to make interacting with AI models intuitive while providing the detailed information and controls needed for effective management and troubleshooting.
Updated: 2025-07-18